Adventure sports offer the most diverse possibilities, from a peaceful horseback ride to the most incredible adrenaline rush, such as bungee jumping.
You can choose various ways to have fun, with nature as the perfect backdrop, for example by trying a water sport. One particularly interesting activity is kayaking, which allows you to paddle on inland waters (rivers, lakes) as well as in the open sea.

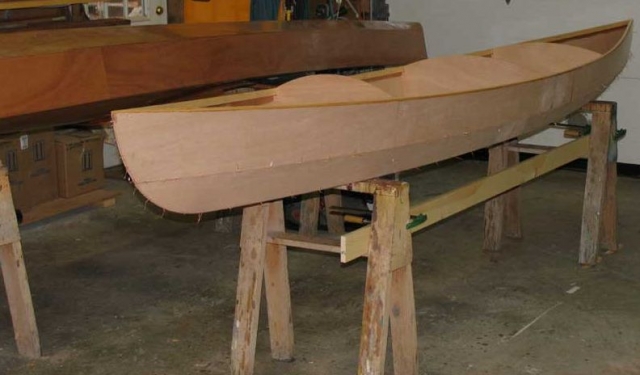
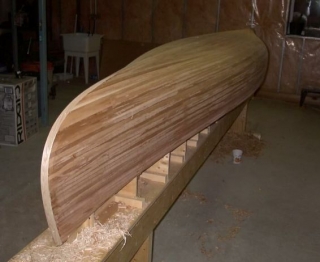
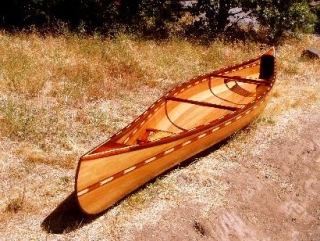
If you're already accustomed to this activity, we have a suggestion for you: build your own kayak. Its construction is simpler than you might think—you just need the right materials and a willingness to put in the work.
The first step is gathering the materials, but where? Obtaining the blueprints will get you halfway there, and from there, you'll need to visit specialised shops for all kinds of tools. Start by purchasing marine-grade plywood sheets, preferably around 4mm thick and 255x122cm in size.
You'll need basic stationery like pencils, erasers, set squares, rulers, and a measuring tape to sketch the blueprints onto the wood. Don’t forget a jigsaw and a mouse-style sander—make sure they’re good quality, even if not top-tier, as you can save a fair bit of money. To join the wooden pieces, get 1mm steel wire and use it with pliers (cutting and gripping).
We’ll start by joining the plywood sheets, which requires creating a bevel. The bond between the sheets must be very strong, so we’ll need resin mixed with an additive to fill any irregularities in the bevel (Colloidal Silica). Once glued, let it set for at least 12 hours.

Now that all the planks are joined, we can sketch the blueprints onto the wood, carefully applying the correct proportions so all parts of the kayak are symmetrical.
When cutting the pieces, use a jigsaw with a fine-cutting blade. A time-saving trick is to cut two pieces at once—secure them with screws and nuts to keep them in place, ensuring both pieces are identical.
To glue the strips, apply a layer of resin to both the strip and the plywood, followed by another layer of resin with colloidal silica. Join the pieces and clamp them firmly; if you don’t have enough clamps, you can use sliced PVC pipe instead.
The strips should be thick, as the plywood is quite thin—this adds rigidity to the kayak and provides a surface to glue and nail the decking.

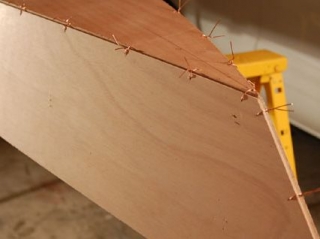
Nearing the final stage, we’ll need to stitch the pieces, giving the kayak its shape. Drill holes every 10-15cm, keeping them 1-1.5cm from the edges. The steel wire will pass through these holes, binding the pieces together.
Joining the bow and stern may be the most challenging but also the most crucial part. To ensure accuracy, you’ll need to use spacers for the watertight compartments. Another key consideration is attaching both pieces to the keel, which will be semi-stitched along the sides.
The final step is fillet stitching to bond the kayak’s sections. The resin’s thickness is critical—too thin, and it won’t hold; too thick, and it’ll be hard to apply. You can leave the wire in place or remove it, as preferred. If removing it, wait about 8 hours after gluing.

When filleting the hull, work carefully to avoid air bubbles. Apply fillet stitching to every joint, and if desired, you can lay fibreglass over the fillet before applying resin (or do both simultaneously).
All that’s left is filling any remaining gaps and sanding. Now, it’s time to enjoy paddling your very own kayak!


