The adventure sports leave us with the most diverse possibilities, from a quiet horseback route to the more incredible way to release adrenaline, like practicing bungee jumping.
You can choose various ways to have fun, where nature is the perfect setting, such as practicing a water sport . A very interesting practice are kayaks, thanks to which you can navigate, both in inland waters (rivers, lakes) and in the open sea. .

If you are already used to doing this activity, we have a suggestion: make your own kayak. Its construction is simple despite what you may believe, it only makes sense that you have the right materials and a willingness to work.
The first thing you should do is look for the materials, but where? By getting the plans you will have a long way to go and from there what you have to do is go to stores specialized in tools of all kinds. To start, purchase plywood boards, preferably marine, about 4mm and 255x122cm.
You need school supplies such as pencil, eraser, square, bevel and a tape measure to be able to draw the plans on the boards. Don't forget a jigsaw and a mouse sander, but make sure they are of good quality even if they are not high-end, as you can save a lot of money. To join the wooden pieces, purchase 1mm steel wire and use them with pliers (cutting and gripping).
We will start by joining the boards, for which we will have to make a chamfer. The union of the boards must be very strong, for which we will need resin mixed with an additive that will make the resin fill any possible irregularities that may have been left in the chamfer (Colloidal Silica). When you have them glued you have to let it rest for at least 12 hours.

We already have all the planks joined together. Now we can draw the plans on the wood, taking care to correctly apply the proportions so that all the parts of the kayak are equal. p>
When it comes to cutting the pieces we will use the jigsaw that has a fine cutting blade. A trick to save time and work is to cut the pieces two by two, so you can join them with screws and nuts so that they do not move and so the two pieces are exactly the same.
To glue the slats you must apply a layer of resin on both the slat and the board and then Then another layer of resin with colloidal silica. We join the pieces and we will fix all the clamps that we have; If we do not have enough, we can use PVC cut into slices.
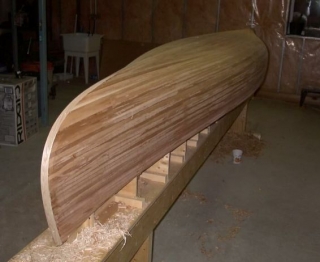
The slats must be thick, since we already see that the planks are very thin, in order to give rigidity to the kayak and so that we can have a surface on which to glue and nail the deck of the boat.

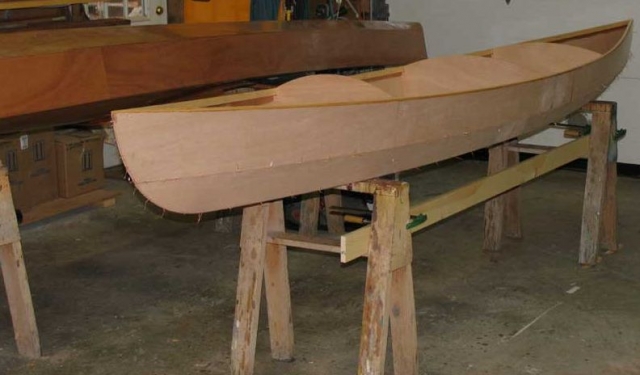
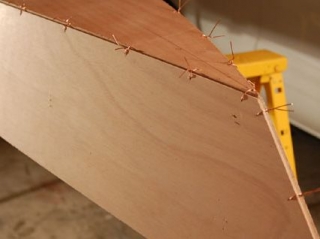
Reaching the end of the task, we will have to sew the pieces, thanks to which our kayak will take shape. Every 10-15cm we will make holes, taking into account that these, in turn, should be about 1-1.5cm away from the edge. The steel cable is the one that will pass through these holes and thus join the pieces.
Joining the bow and stern may be the most expensive but also the most important. So that everything is correct, you cannot avoid using dividers for the watertight compartments. Another issue to take into account is the union of the two pieces to the keel. This will be semi-sewn on the sides.
The last step is threading to be able to join the pieces of the kayak. It is important that the degree of thickness of the resin is correct, because if it is not enough it will barely stick and if it is too thick it will be difficult to apply it. You can choose to keep the wire as it was or remove it, as you prefer. If you opt for the second, you will have to allow about 8 hours to pass after gluing.

When you fillet the hull you will have to do it carefully, to avoid air bubbles. The threading is carried out on each and every one of the joints of the hull and if you wish you can put video fiber on the threading and then the resin (you can also do it at the same time).
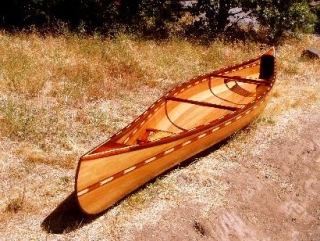
All we have to do is fill in the cracks that remain and sand them. Now enjoy sailing in your own kayak!


